Use the Exams Sittings screen to allocate exam sittings to rooms.
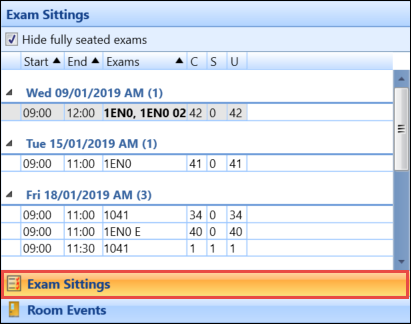
You can access the Exam Sittings screen by clicking the Exam Sittings tab in the left-hand pane.
Using the Exams Sittings screen, you can:
The Exam Sittings pane displays all the exam sittings for the selected time period (that is: as selected on the exam timeline) in chronological order.
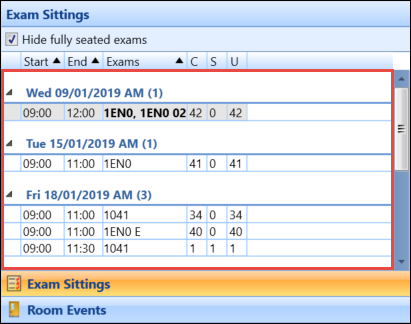
An exam sitting is either a single exam or a group of exams that share common candidates and run consecutively (for example: two one-hour papers for a single subject being taken by candidates in a single two-hour sitting). This ensures that candidates cannot be scheduled to be in different locations for consecutive exams, and that they remain in the same seat for the duration of the sitting. Exam codes are displayed in bold for sittings with multiple exams.
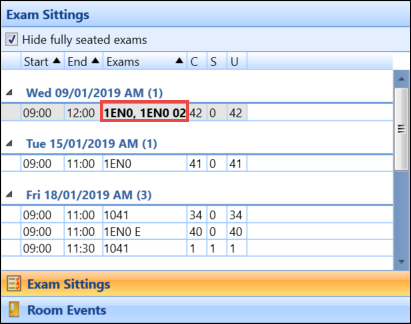
The fields in the Exam Sittings pane are described in the following table.
| This field | Holds this information... |
|---|---|
| Start | The exam sitting start time. |
| End | The exam sitting end time. |
| Exams | The exam code(s) in the sitting. |
| C | The number of candidates for the exam sitting. |
| S | The number of candidates with special requirements for the exam sitting. |
| U | The number of unseated candidates for the exam sitting. |
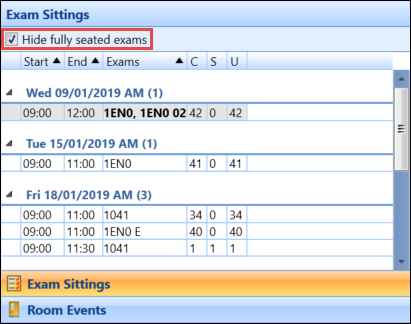
The Hide fully seated exams check box is selected by default. Deselect it to display all exam sittings.
Select a record in the Exam Sittings pane to populate the Candidate Sittings section with the list of candidates entering the exam.

You can select multiple exam sittings in the list, but they must all fall on the same date and AM or PM time period.
Exams with a yellow background are past exams and cannot be edited.
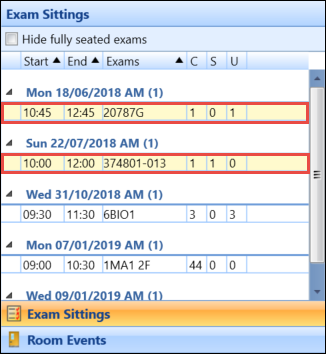
If a sitting has candidates with other exam entries within a short period of time of the current sitting being displayed, a warning icon is displayed to the left of the start time.
![]()
If a sitting has at least one candidate with an exam that clashes with another of their exams, an error icon is displayed to the left of the start time.

When an exam is selected in the Exam Sittings pane, the Candidate Sittings section is populated.

Clicking a candidate in the Special Requirements section displays the special requirement reason.

Candidates with special needs requirements that cause their start or end time to change (for example: where a student is allocated 25% extra time) are included in a separate sitting record in the Exam Sittings pane.
If a candidate has another exam entry within a short period of time of the current sitting being displayed, a warning icon is displayed to the left of the candidate's person code.
![]()
If a candidate has an exam that clashes with another of their exams, an error icon is displayed to the left of the candidate's person code.
![]()
The Available Rooms section lists the room layouts that are available (that is: there is at least one unoccupied seat) at the date and time of the exam sitting selected in the Exam Sittings pane.
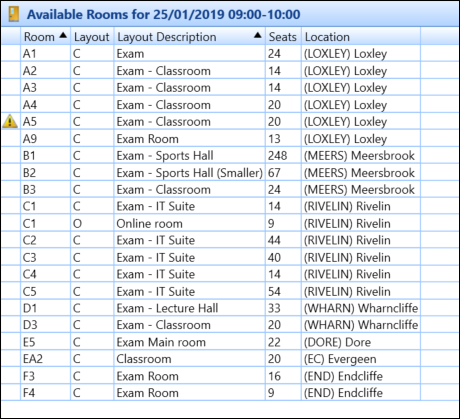
Select a room to display the following details underneath the selected record:
- Any exam events that are already scheduled to take place during the selected time period
- Any non-exam timetabled events that are scheduled to take place in the room on the day
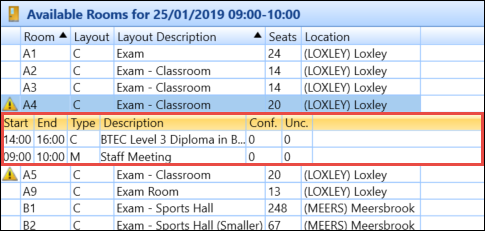
When there are clashing non-exam timetabled events, a warning icon is displayed to the left of the room code.
![]()
Candidates are allocated to rooms using a combination of the Exam Sittings pane, Candidate Sittings and Available Rooms sections.
The following scenarios should be considered when allocating candidates to rooms:
- If two exam sittings that have no candidates in common are added to the same room with times that do not overlap, two separate exam events are created. In these cases, care should be taken to allow time for the changeover of candidates when one exam follows another immediately.
-
If there are two existing exam events in a room (for example: at 09:00-10:00 and 10:30-11:30) and a third exam sitting is added which overlaps with their end and start times (for example: 09:30-11:00), a single exam event is created. If either of the existing events has non-default fill options applied, it is discarded and the new event is seated using the default seating allocation rules and all candidate seats are adjusted accordingly. A confirmation message is displayed.
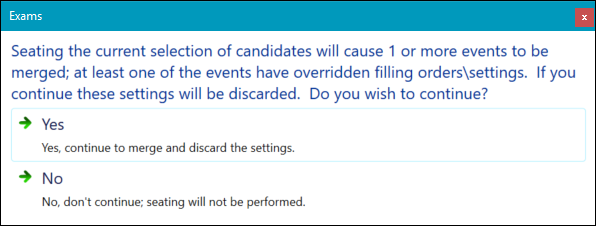
To allocate candidates to a room:
-
Select the relevant exam sitting(s) in the Exam Sittings pane.

Refer to Use the Exam Sittings panel for further information.
-
Select the relevant candidates in the Candidate Sittings section.
You can select multiple records using Shift-click (for a series of records), Ctrl-click (for individual records), or Ctrl+A (for all records).
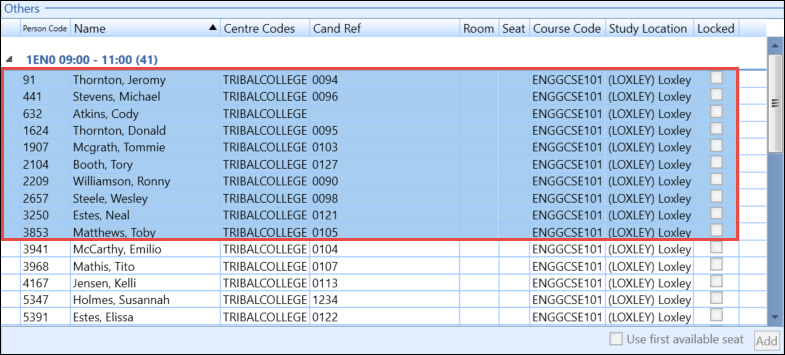
Refer to View the list of candidates for an exam for further information.
-
Select the relevant room in the Available Rooms section.
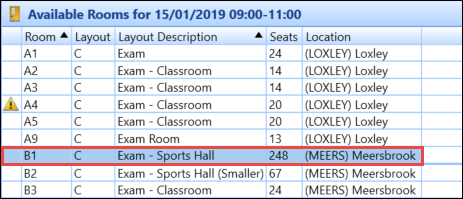
Refer to Use the Available Rooms pane for further information.
-
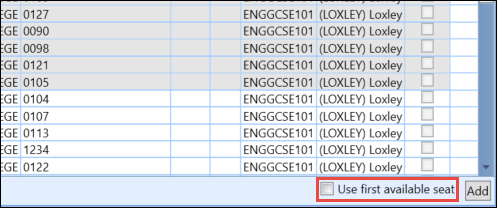
Select the Use first available seat check box in the Candidate Sittings section, if required. This allocates the seats of the new sitting immediately after the seats of previously seated candidates, instead of creating a gap as defined by the Exam gapping setting in Exam Seat Allocation Rules Settings.
This functionality can only be used on candidates without special requirements.
-
Click the Add button in the Candidate Sittings section in either the Special requirements or Others section (depending on the type of candidates selected) to allocate the candidates to the room.
A record must be selected in the Candidate Sittings and Available Rooms sections to enable the Add button.
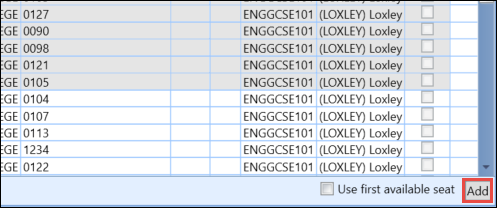
A confirmation message is displayed.

Click Ok.
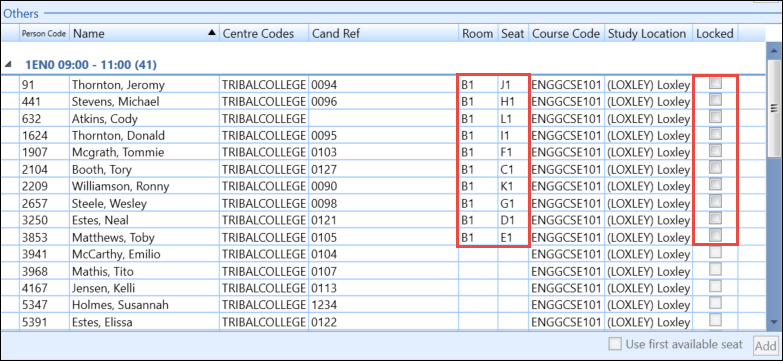
The Room and Seat fields are populated and the Locked check boxes are enabled for the selected candidates in the Candidate Sittings section.
-
Select the Locked check box of the relevant record(s) to prevent a candidate from being re-allocated to a different seat.
Use the buttons in the Seating ribbon group to lock, unlock, re-allocate and clear seats in bulk, if required.
-
Click Save.
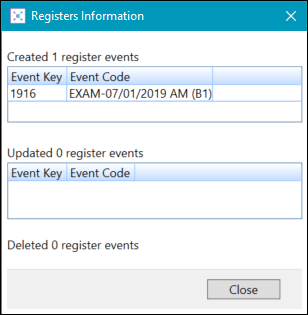
Exam events are created or updated when the data is saved, and are visible on the Room Events screen and other EBS modules (for example: Shape).
The Registers Information window is displayed, which outlines changes made to register events.
Seat allocations can be adjusted on the Room Events screen.